
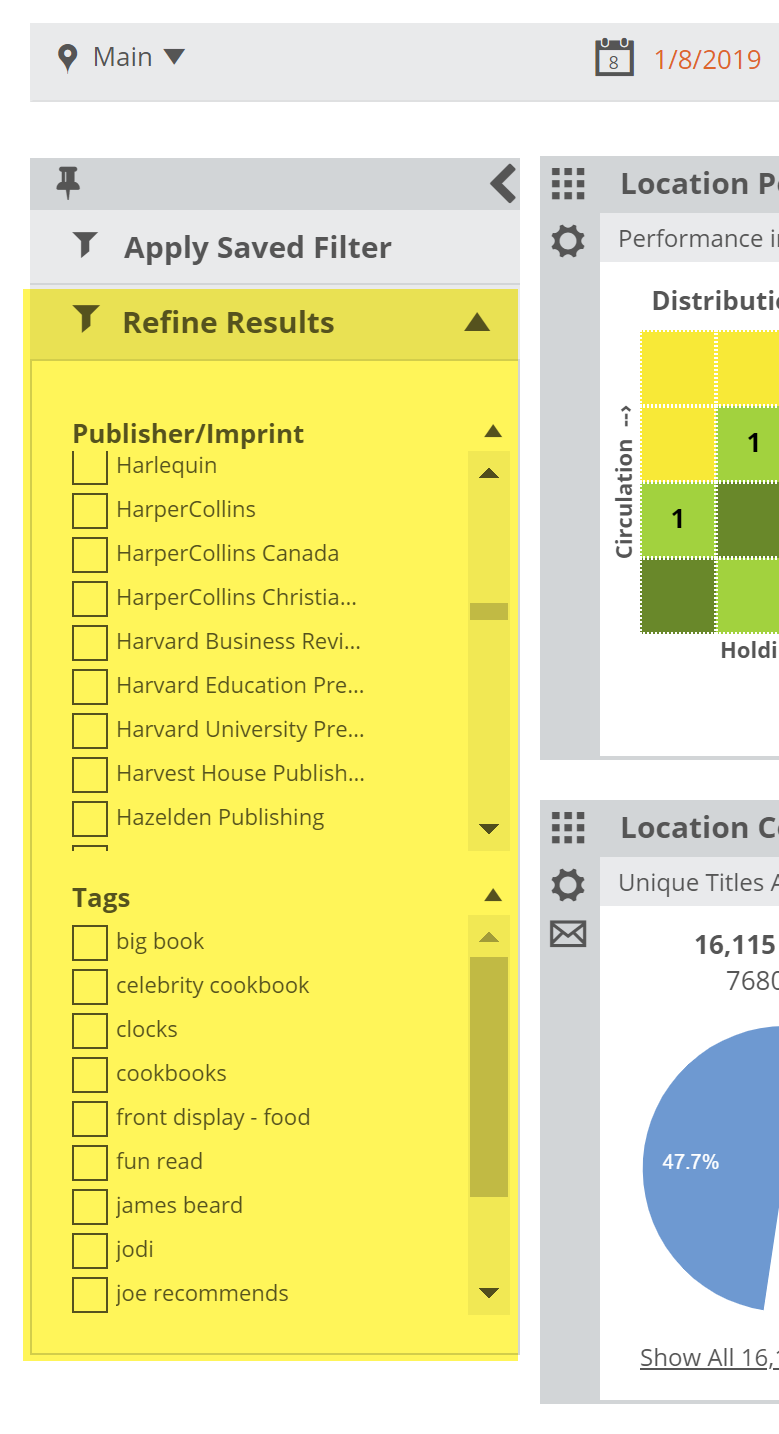
There are a few quick Refinement options available on the left hand side of your Analytics page. You can select a single refinement, say just a publisher or imprint, to quickly filter out everything else, or you can select multiple refinements at once to see a more targeted set of titles in your various analytics graphs/tools. You’ll see options for Publisher/Imprint,and your library’s Tags for now.
 For more complex or oft-used filtering needs, you can quickly create Saved Filters.
You can create an endless variety of saved filters to use throughout Edelweiss, including within the Edelweiss Analytics tools. These can be a simple “Kids Only” filter that will only show kids titles, or a more complex “Hardcover Macmillan literary fiction that comes out next week,” or a more personal “My library’s categories that are back by the bathroom.” Essentially, you can create a filter to measure whatever you would like to measure, and then apply those filters to the many tools available to analyze the market and your own library system of branches by those attributes.
Click on Saved Filters at the top of any Edelweiss screen, to be taken to a page from which you can create and view your filters. (See a complete tutorial about Saved Filters in Edelweiss here.)
Click on Add New Filter to create a filter set, or click Edit Filter to update or fine-tune an existing filter:

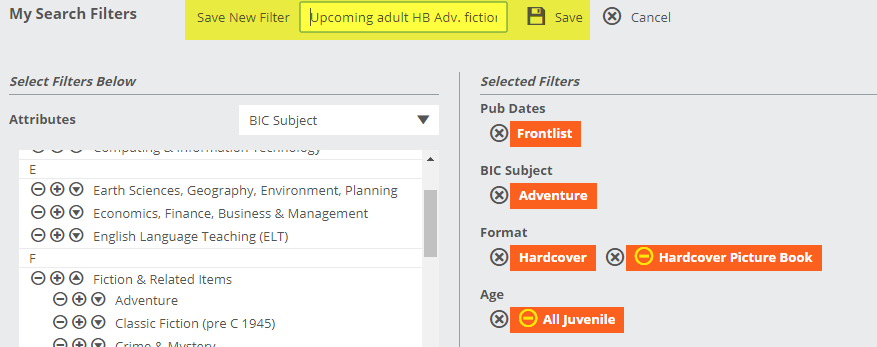
You can use a number of different parameters to create your filters, including Publisher/Imprint, Publication date, your system’s Collection Codes, BISAC, Format, and more.
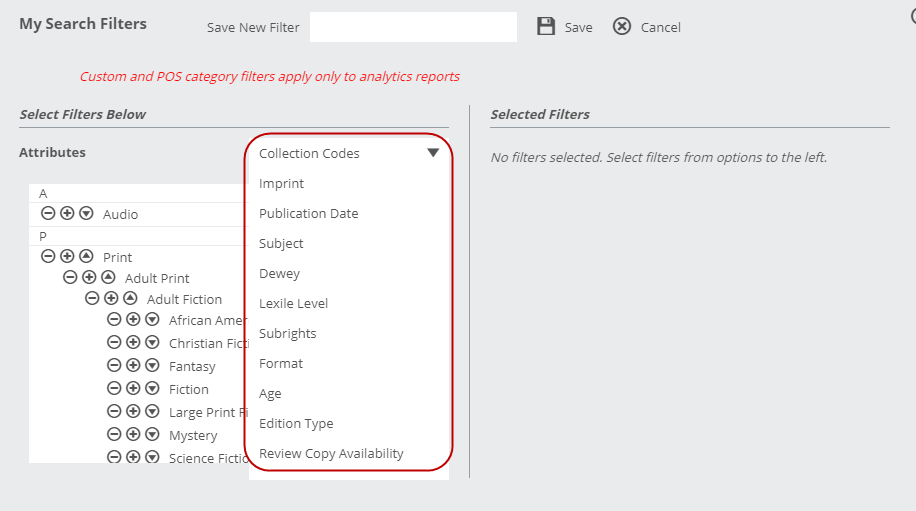
Click the + next to the elements you’d like to include, or the – next to the elements you’d like to exclude. The down arrow there will show you additional filters where relevant.

When it’s ready, simply name it and save it.
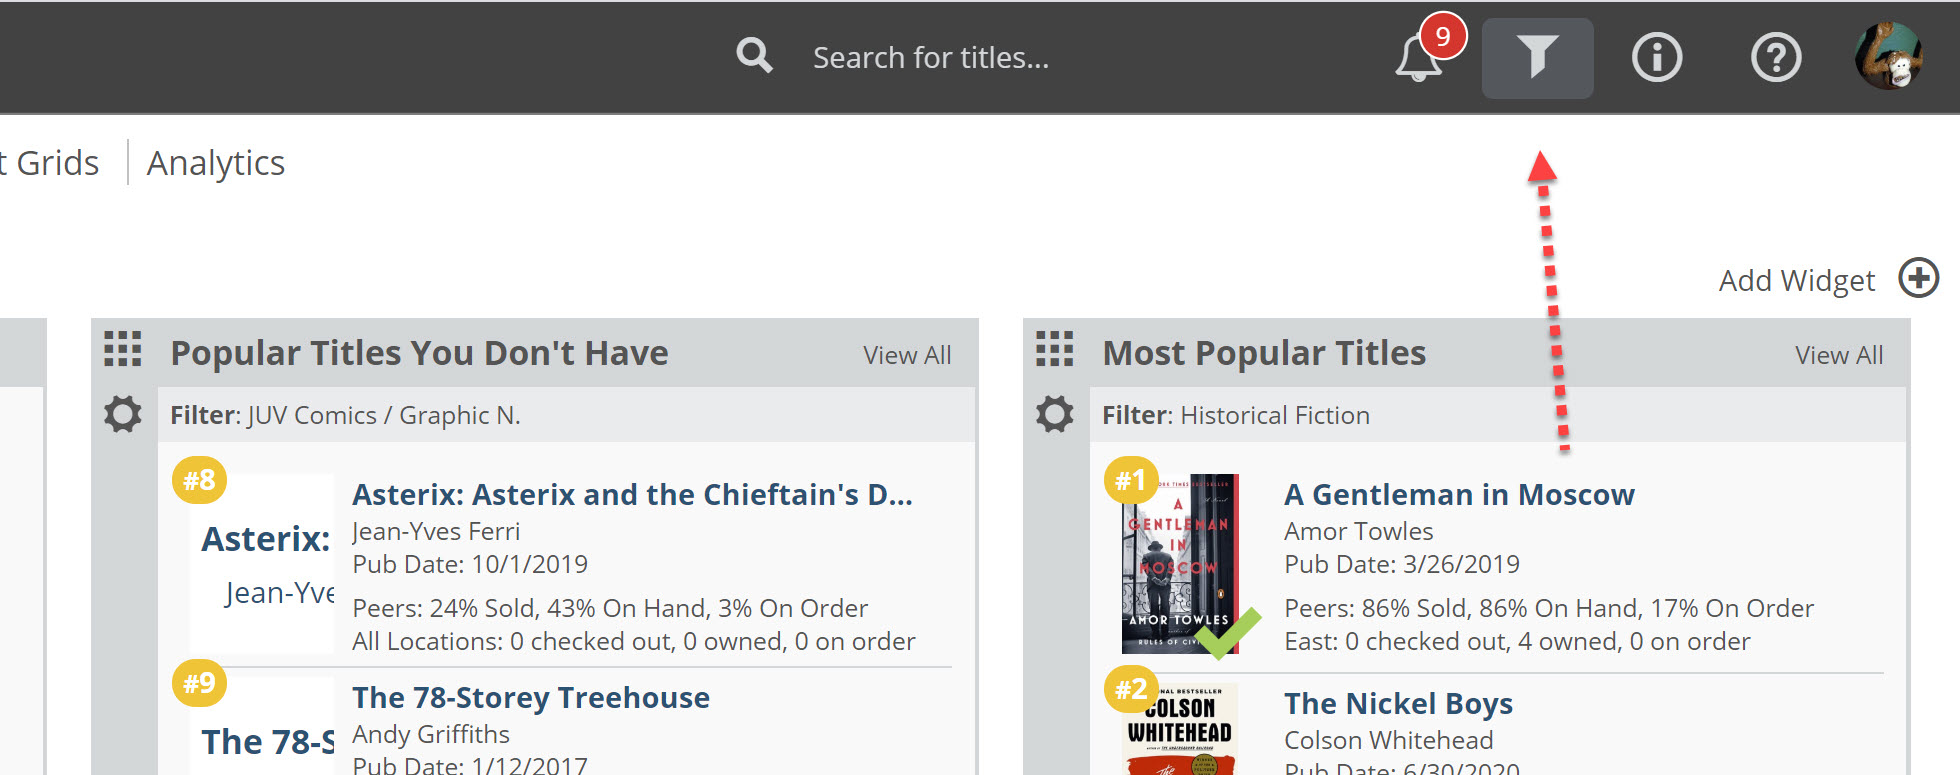
Once created, you can use that saved filter, wherever you like in Edelweiss. For our purposes here, you can especially use them when viewing the Analytics tools. Select a filter as shown below to apply that filter to each lane:

In the image above, this filter includes Romance, so the Not Yet Released lane is showing the top 100 upcoming Romance titles, and whether this library system has them on order or not.
Alternately, this library can see, within those Romance parameters, how their collection is performing:
 So, all on one page, you can see both upcoming and current romance titles that your library might be missing, as well as titles that are stale and could easily be weeded to make room for titles that may circulate better.
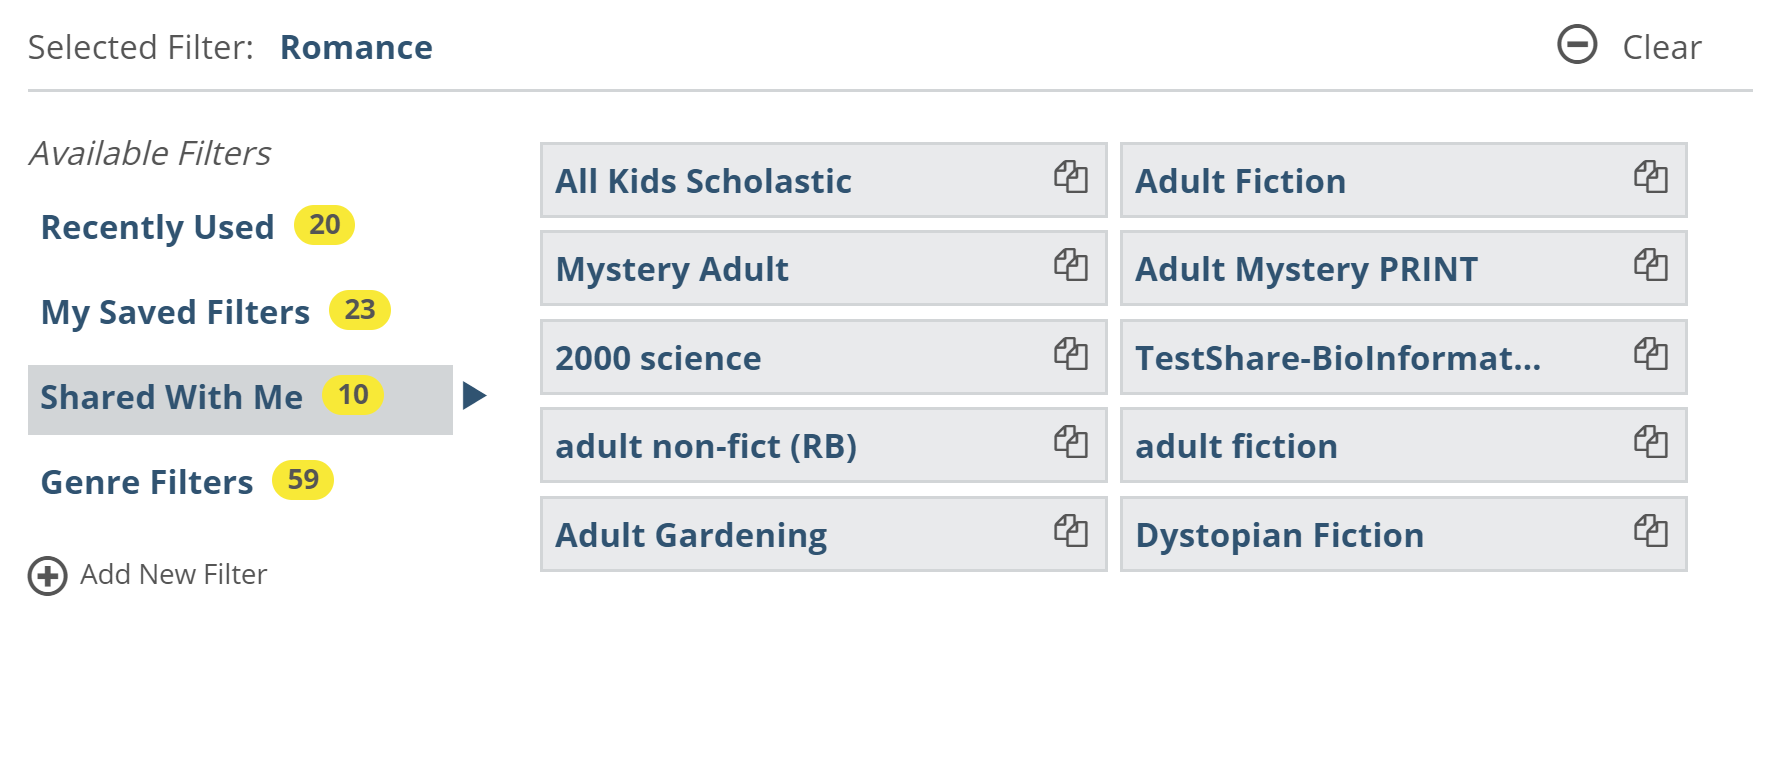
You can even share your Saved Filters with your colleagues. This is especially useful if you have a rather complicated set of filters that you’d like everyone on your team to use. Once a filter is created and saved, you’ll see this “Shared” option:

Filters that have been shared with you will show below your personal filters:
Note, too, that you can create your own groupings of your Collection Codes to represent a hierarchy of sorts. In the example below, you can easily create a Saved Filter on any of the highlighted Collection Codes, each of which includes more or less specific data:

You can build these filters based on the data your provide, from Collection Codes, Stat Codes, Location Codes, etc., depending on the data we receive from your ILS.